
Bumper scuff repairs, though often ignored, are vital for maintaining a vehicle's appearance and resale value. By meticulously matching paint, filling, sanding, priming, and repainting, scuffs can be restored to their original condition. Minor scuffs may be DIY-able but deeper damage requires professional collision repair centers. Pre-repair cleaning and inspection, along with proper post-repair care including washing and waxing, ensure durable, seamless repairs. Avoid DIY mistakes like improper techniques or inadequate preparation for subpar results.
Bumper scuff repairs are a common but often overlooked aspect of vehicle maintenance. This comprehensive guide delves into the best practices for post-repair care, ensuring your car’s front guard looks as good as new. We’ll cover everything from understanding the basics of bumper scuff repairs to pre- and post-repair routines for optimal results. By avoiding common mistakes, you can preserve the aesthetic and protective value of your vehicle’s crucial front guard.
- Understanding Bumper Scuff Repairs: The Basics
- Pre- and Post-Repair Care for Optimal Results
- Common Mistakes to Avoid During Bumper Scuff Repair Maintenance
Understanding Bumper Scuff Repairs: The Basics

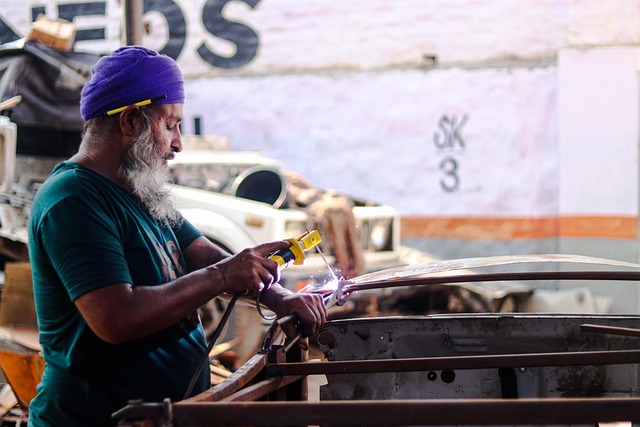
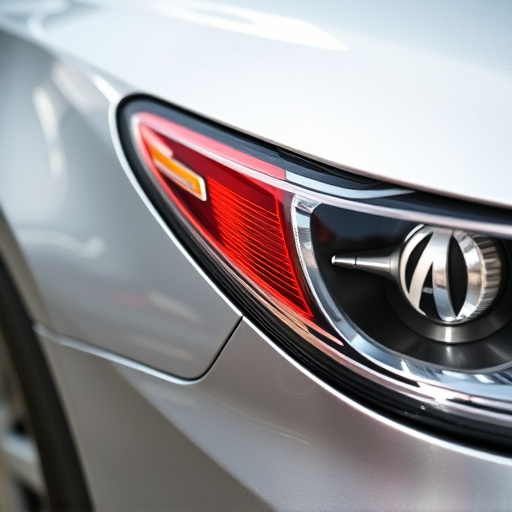
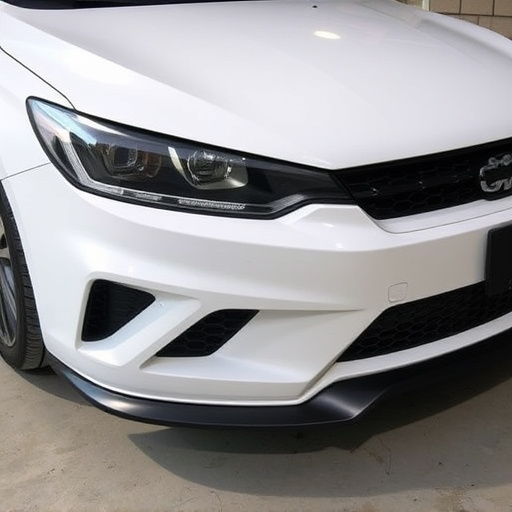
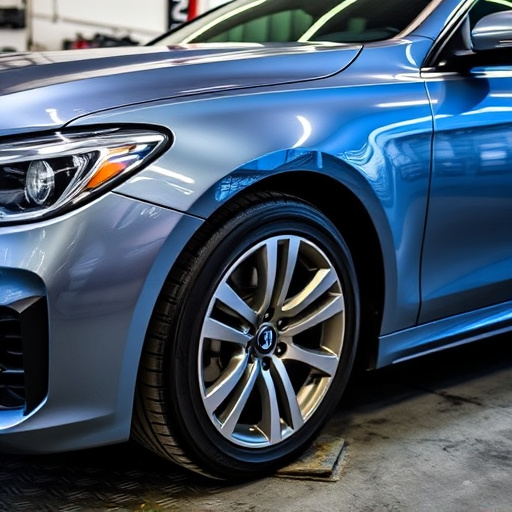
Bumper scuff repairs are a common yet often overlooked aspect of vehicle maintenance. It’s a simple yet effective way to restore your car’s aesthetic appeal and protect its value. A scuff mark, typically caused by parking lots or tight spaces, can leave an unsightly scratch on your bumper—but it doesn’t have to remain there.
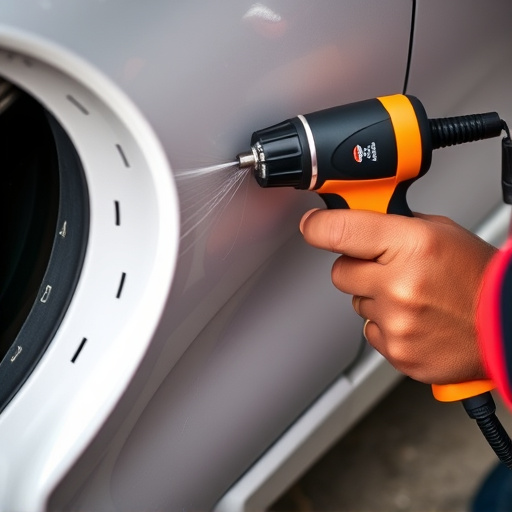
The process involves matching the paint as closely as possible to your vehicle’s original color, then filling in the damaged area with a specialized putty or compound and sanding until smooth. This is often followed by priming and repainting, ensuring the scuffed section seamlessly blends into the rest of the bumper. While some minor scuffs might be reparable at home, for deeper or more complex damages, visiting a collision repair center is recommended to achieve the best results and maintain your vehicle’s safety and integrity.
Pre- and Post-Repair Care for Optimal Results
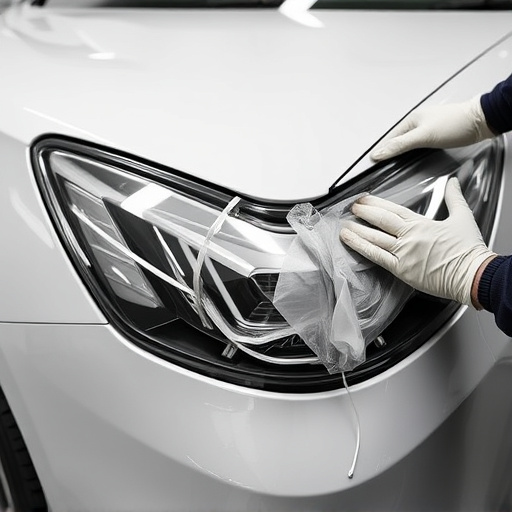
Before initiating any bumper scuff repair, preparing your vehicle for the process is key to achieving optimal outcomes. This involves washing and drying the car thoroughly to ensure no dirt or debris remains, as these can contaminate the repair site and affect the final finish. It’s also advisable to inspect the entire bumper for any other damages; repairs should address all issues comprehensively. After cleaning and assessing, masking off surrounding areas with painter’s tape protects them from overspray during the repair process.
Post-repair care is equally significant. Once the bumper scuff repair is complete and the paint has cured according to the manufacturer’s guidelines, carefully remove the masking tape. Then, thoroughly inspect the repaired area for any imperfections or uneven patches, ensuring a seamless blend with the rest of the bumper. A final wash and inspection under different lighting conditions verify that the repair matches the original finish. Regular upkeep, including washing and waxing, will extend the life of the repair and keep your car looking its best at the car body shop.
Common Mistakes to Avoid During Bumper Scuff Repair Maintenance
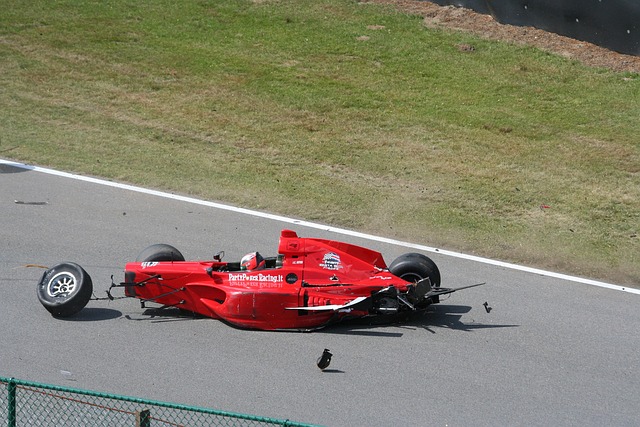
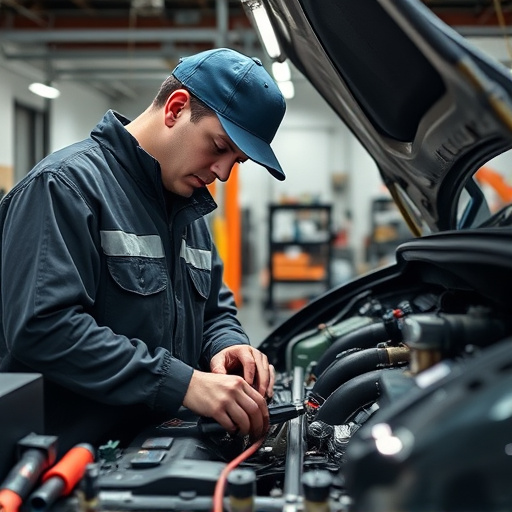
When addressing bumper scuff repair, avoiding common mistakes is key to achieving a professional and durable result. One frequent blunder is attempting DIY repairs without proper training or equipment. Bumper scuffs often require precise panel alignment and surface preparation, tasks best left to experienced auto body repair professionals who have access to specialized tools. Using the wrong techniques can lead to unsightly patches or uneven finishes that compromise the bumper’s aesthetic appeal and protective functions.
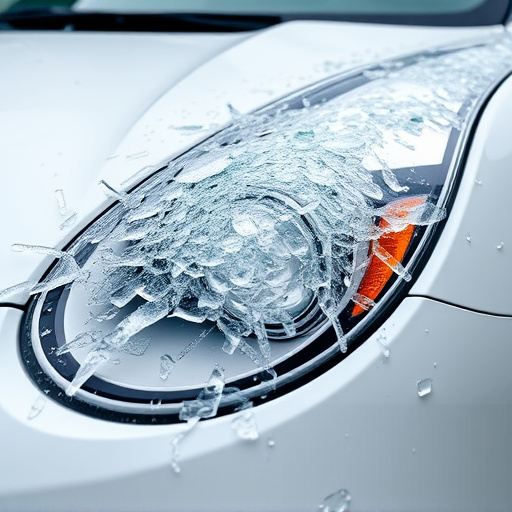
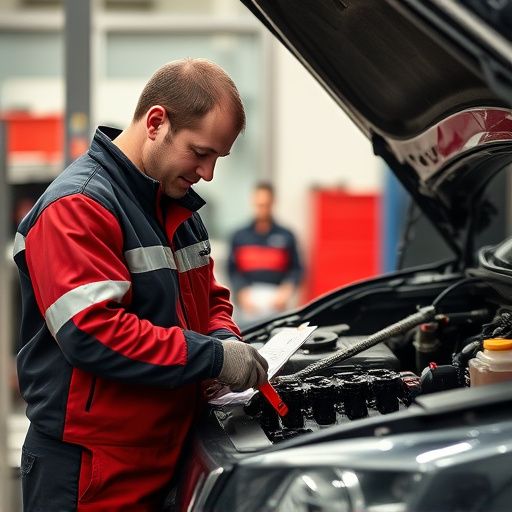
Another mistake is neglecting pre-repair inspection and preparation. Before initiating any bumper scuff repair, it’s crucial to assess the extent of damage, which may involve examining adjacent panels for potential impact. Proper surface cleaning and priming are essential steps that ensure adhesion and longevity of the repair. Additionally, failing to mask off surrounding areas can result in unsightly paint transfer during the repair process, affecting other parts of the vehicle.
In conclusion, mastering bumper scuff repair techniques involves a blend of understanding the basics, implementing proper pre- and post-repair care, and steering clear of common mistakes. By adhering to these best practices, you can ensure your vehicle’s exterior maintains its aesthetic appeal, enhancing its overall value. Remember, prompt action after a scuff and regular maintenance are key to preserving your bumper’s appearance, making this simple yet effective process a must-have in any car owner’s toolkit.